Garage Flooring 101
Garage flooring is not typically viewed as glamorous. But, if you are looking to upgrade your garage, flooring is a great place to start. An improvement to you garage floor can enhance the functionality and design of your garage and home. Follow these three Garage Flooring 101 factors in mind when repairing, replacing, or upgrading your garage floor.
Purpose
“What do I want to use garage for?” Your garage can be used for more than just a place to house your vehicles. A garage can function as a primary workspace in your home, or it can be an extended living space when properly adorned. Even if you only use your garage for storage, knowing its purpose will help you determine what flooring to use.
Budget
Once you have determined the purpose of your garage, you can budget for your project. Upgrading your door can be a simple or complex process depending on the material you choose. The amount of time and money you are willing to invest will determine the durability, style, and longevity of your floor.
Tiles, interlocking rubber pieces, and other garage floor coverings, are suitable for any garage function. Polypropylene and porcelain tiles are durable and easily to clean. Tiling is also a simple process and tiles tend to keep moisture away due to their hollow undersides.
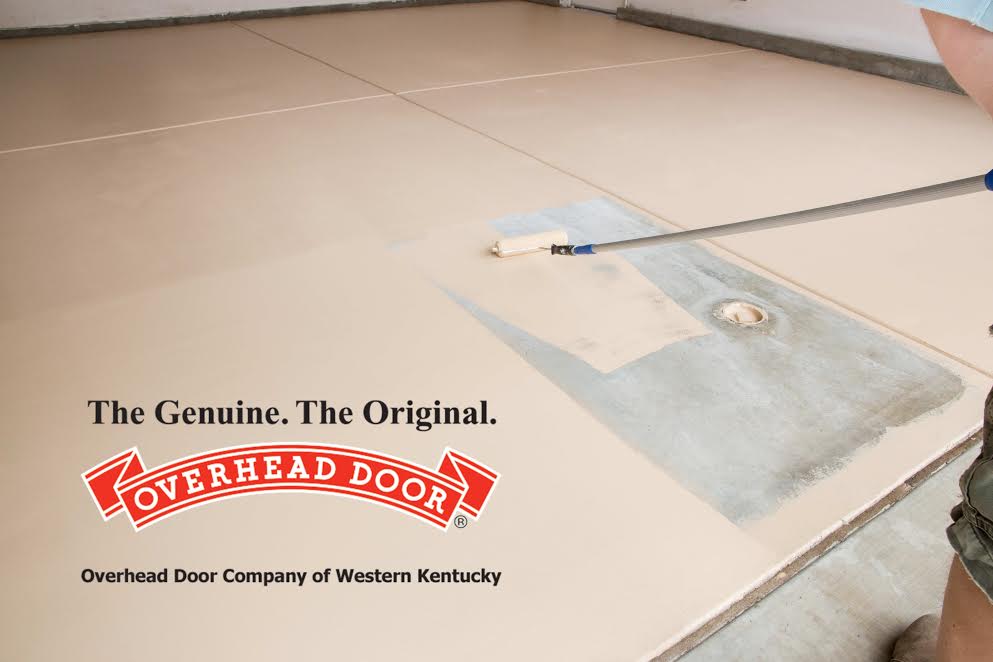
Another easy and inexpensive option is paint. A simple online search will uncover a plethora of options for painting a cement floor. A few easy-to-apply coats can transform your floor from cold and grey to purposeful and artistic.
Prep and Install
After choosing your garage’s purpose and budgeting for your new floor, all that is left is to prep and install it. Check the weather forecast before picking a date to install your floor. You may need to move items you usually store in your garage outside while you work. If you have valuables or chemicals that require special attention, find a safe place to house the items during the installation process.
Prepping your floor will begin with cleaning and removing any oil or debris, then filling cracks with epoxy. You’ll then want to do a moisture and sealant test, fixing any discrepancies that may arise. If you are painting or laying tiles, start from the outside and work in an L-shape pattern until complete. When painting, apply with a roller brush and allow 24-hours between coats for drying; finish with appropriate epoxy shield or gloss.
You can always leave prep and installation to the professionals. Call Overhead Door of Western Kentucky™ for tips and help with your garage floor.


